Vipraspectra 300 reflector series conversion to Cobs

Armdog

RDWC GROWER
Got the cobs today. I built the light and omg is it bright. I did 4 cobs , 8 photo reds, 2 uva, 2 IR. This thing is awesome. Now I'll deconstruct it and show how it was built not resoldering it. This is worth it at $2.82 per cob. I got lucky with the aluminum. Give me a couple of days to compile all the info and some pictures.
Thanks for the help on the cobs @Jesselikes2Grow .
 

NoWaistedSpace

I'm Hoarding Skunk
I have 2 of these Vipraspectra 300 reflector series lights that were bought when I first was thinking about growing. I have never used these lights as I have quantum boards and was wanting some input from you guys as to what is the best option to convert these into something usable for a flowing tent. There is one driver in the light which is 140 to 180 volts and 660 to 690 ma. It also has a 12v fan. I got some pictures.
660reds and Far reds will run comfortably at that mA. Get some Al channel. You can run 16 (roughly 3v ea. 48V) CREEs on a strip
Total 3 strips.
That's 1 option. lol
Pretty low mA for 4 x Vero 29 gen 7, but great effiency.
 

Armdog

RDWC GROWER
Very welcome. Anytime mang.
Ok here we go: This thing is bright.

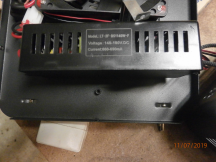
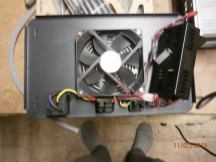
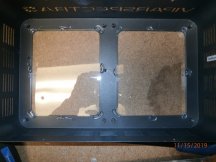
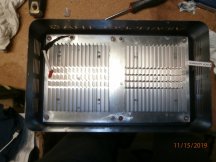
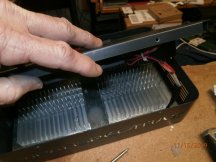
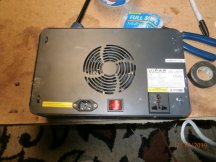
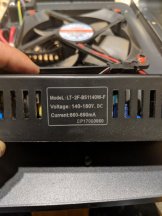
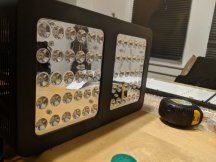
Original light is picture 1 and 2:
Forward Voltage of the driver is 140V to 180V
Current is 660ma to 690ma

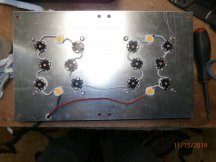
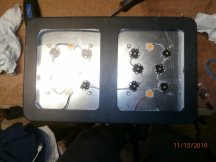
Picture 3 is the new plate I had made and drilled the holes with using the existing board as an overlay and I used thermal glue to hold the leds in place and wire soldered in series ( + to - ). The connector that was on the original board is red positive and Black is negative ( you need this for easy driver connecting later)The middle LEDs are UVA and IR. Top and bottom corners are photo reds 660NM. and of course the orange ones are the cobs.

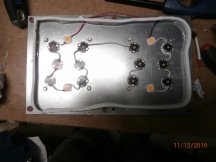
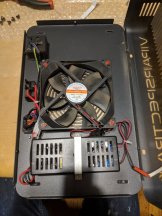
Picture 4 is installed foam pad the I cut off the other board. I used hot glue for this.

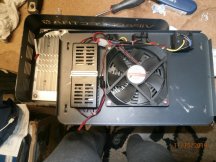
Picture 5 is the heatsinks that had to have new compound applied and screwed in from led face to mount to the panel.

Picture 6 is where is hot glued the cover plates to the frame since there was no other way to mount it.

Picture 7 is the board remounted back in the frame with all original screws.

Picture 8 is what it looks like on the led side after the board is mounted back in the frame.

Picture 9 is showing the wires to be connected.

Picture 10 is showing the wires connected.

Picture 11 is the top installed back to the frame.

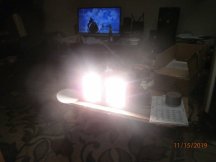
Picture 12 is Lights on. This thing is 4 to 5 times brighter than the original. great upgrade.

Last picture is my parts list.

This can be done cheaper but I could only get 5 cobs on the driver and it would not have looked wright to me.

And of course I can only upload 10 files. If someone could fix this I would appreciate it.

cant wait to do the other light. Damn thing is awesome and pulls 131 watts from the wall, 5 less than the original one.
 

Attachments

yougrowyourway

illgrowmyway
The same one I recommended to @Armdog
5 of em unless you add in some diff stuff like he did.
thanks Jesse!
That's the exact same light as mine. The board is not removable from the aluminum. You will need a
-12" x 7 1/4" - 1/16" to 1/4" thick out of aluminum or stainless steel The original piece was 1/16" thick.
I'll get 1/16" then yah? Just so happens I have access to all things needed for this venture just no know how of any of it thankfully I'll have it done for me 😈🤩🤪
My fuckin man! Thank you for simplifying that. This project may happen sooner then expected.
 
Top